Initial Setup
Tip
For hardcore command line users, we've created subctl, a simple CLI tool
allowing you to log in to SubKube and interact with your Projects and
Namespace directly from your shell, just as you would with kubectl.
More about how to install subctl here
Signing up
To start using SubKube, sign up for an account
Before you can start creating projects, you'll need to setup a billing method
Tip
If you wish to use subctl, don't forget to log in
1 | |
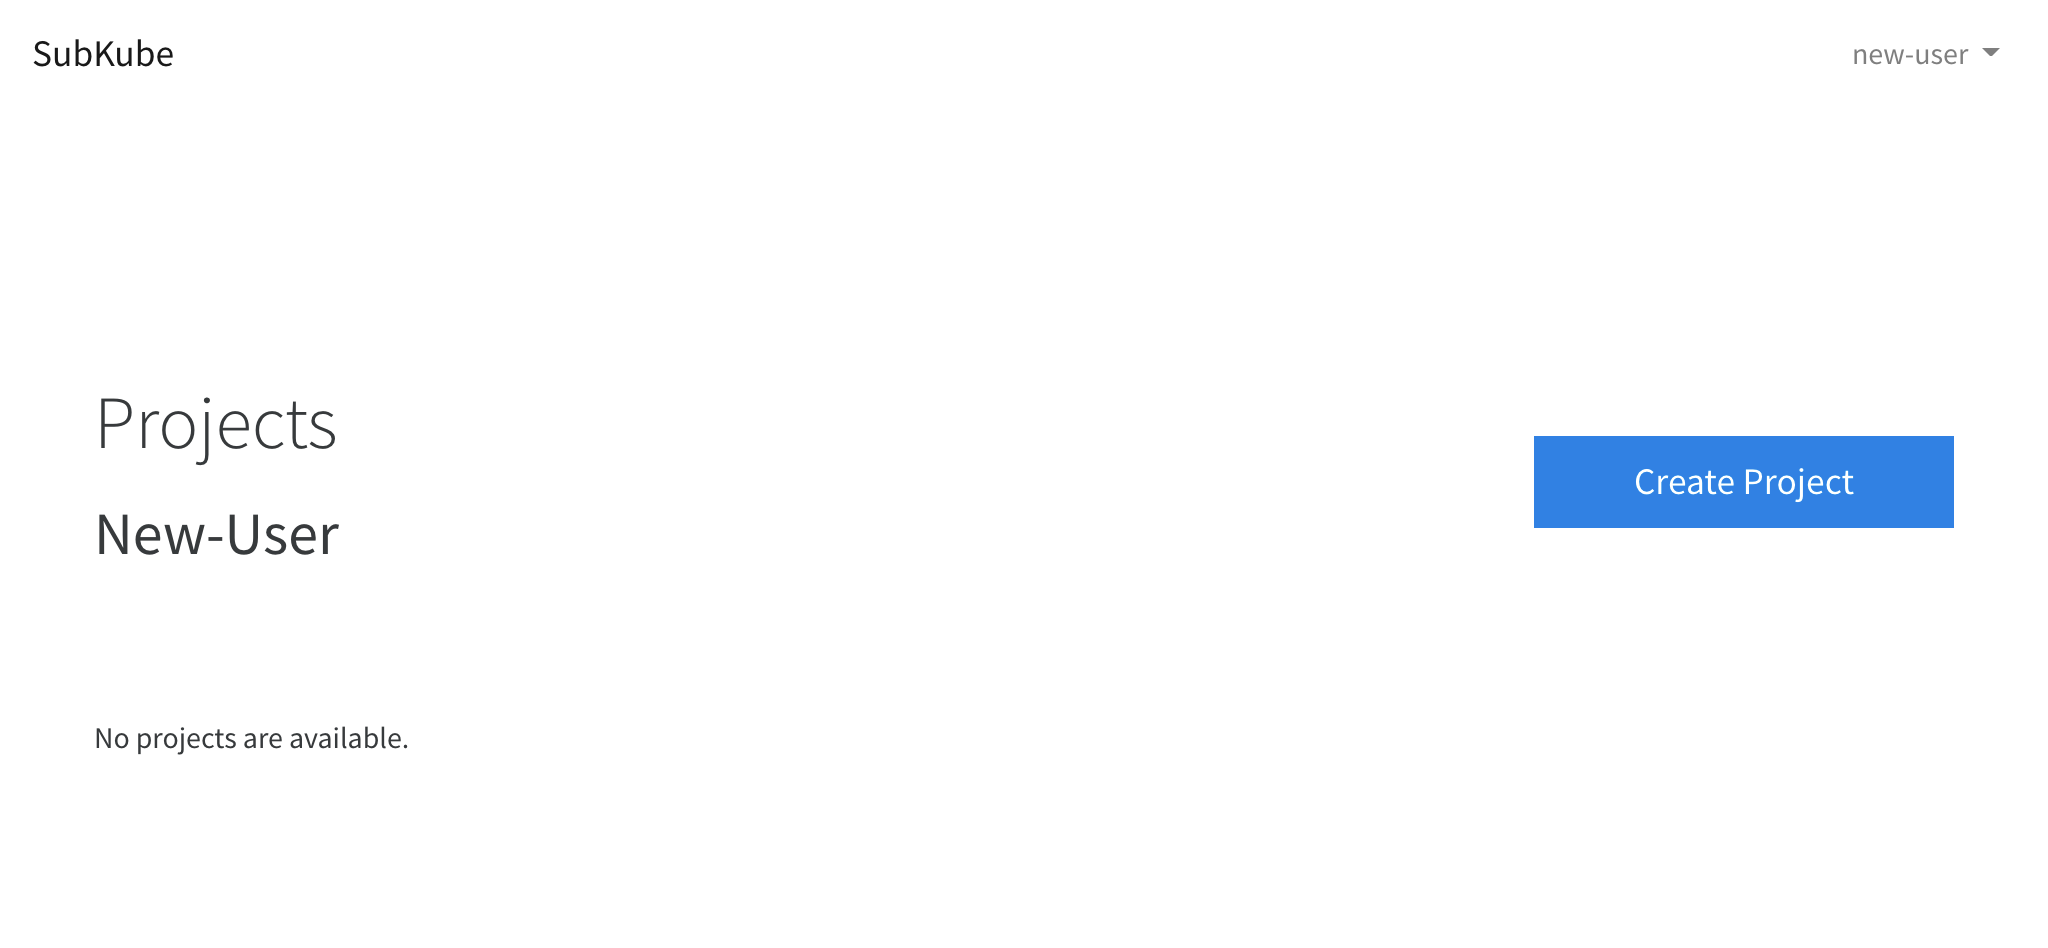
Create a Project
Once you've signed up and are logged in to SubKube, you need to create a project to deploy Namespaces and Workloads to.
Open the Projects page and click the Create Project button.
1 | |
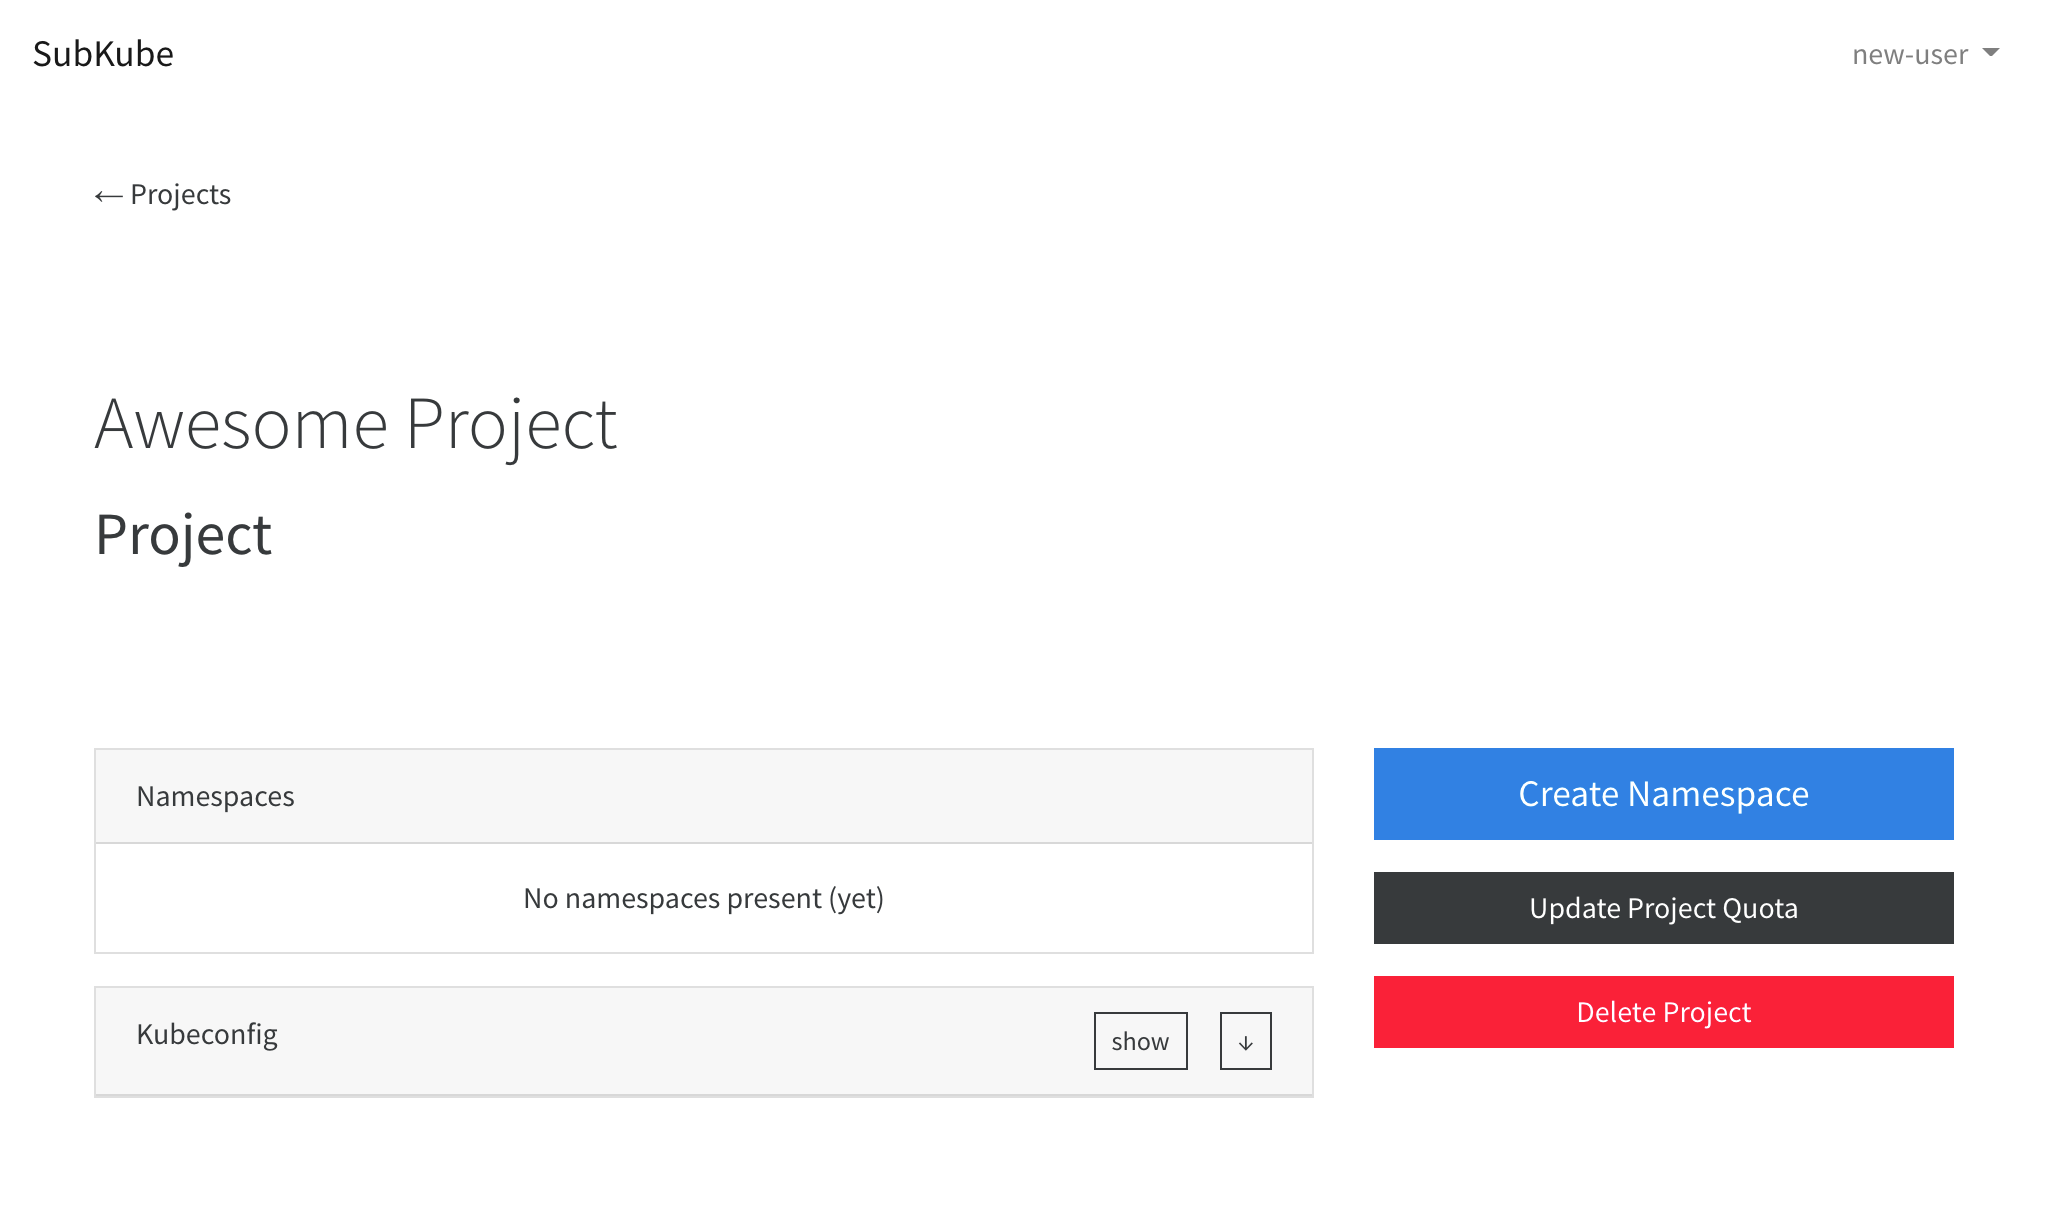
Create a Namespace
After creating a project, we need to create a Kubernetes Namespace to deploy our Workloads to.
This can easily be done from a Project page, by clicking the Create Namespace button.
1 | |
Setup Kubectl
Tip
If you don't have kubectl locally installed, checkout our Interactive Console, which sets up your kubeconfig automatically for you, and offers helm and others besides kubectl.
In order to use kubectl, we need to setup our kubeconfig.
On your projects' page you will find the Kubeconfig card, which allows you to
download the kubeconfig as a file, which will be called subkubeconfig, or
you can show the kubeconfig for inspection or manual copy-pasting /
distribution.
1 | |
Deploy workloads
Once we have our project, namespace and kubectl configured, we can check to
see if everything works by running a test pod interactively.
As you can notice
-
we've set a securityContext using overrides, please see Concept: Workloads for more on SecurityContext and PodSecurityPolicies in Subkube
-
we've set limits for the pod using
--limits, please see Concept: Projects for more on Resource Limits in Subkube
1 2 3 4 5 | |